Choosing the Perfect Space for Your Studio
Choosing the ideal room can make or break your home recording studio. Opt for a quiet location, away from noisy streets and household activity. Smaller rooms with minimal windows often work best, as they limit external noise and echo. Ensure there’s enough space for your equipment and comfortable movement.
Acoustic Treatment: Minimizing Noise and Echoes
Achieving impeccable sound quality begins with proper acoustic treatment; it ensures your recordings are free from unwanted noise and echoes. Start by installing bass traps in corners to absorb low-frequency sounds. Acoustic panels on walls can reduce mid-to-high frequency reflections. Don’t forget a thick rug to tame floor reflections. These steps not only perfect your recording environment but also elevate your tracks for must-know streaming platforms and music distribution tips for a successful music career.
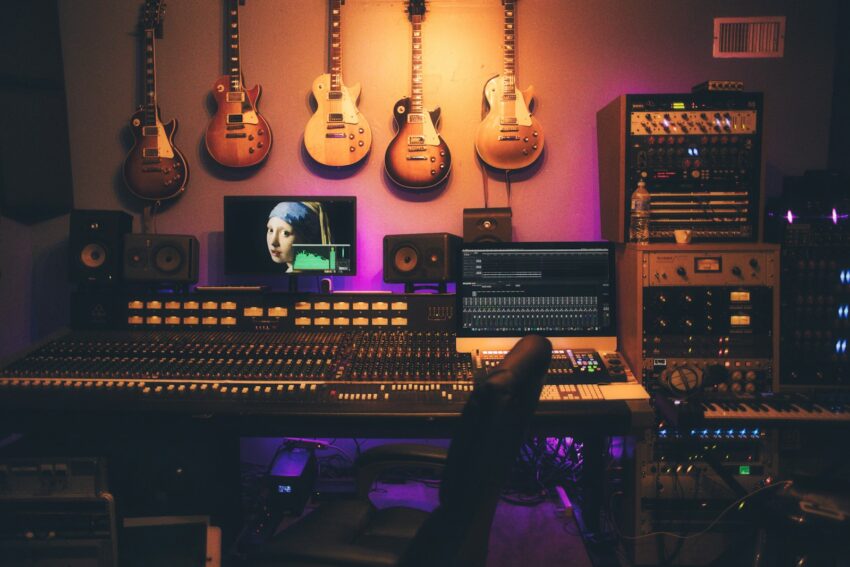
Essential Equipment for High-quality Recordings
Investing in quality gear is pivotal for achieving professional-grade recordings. Start with a reliable audio interface, which connects your instruments and microphones to your computer. A pair of studio headphones and monitor speakers are essential for accurate sound reproduction, preventing skewed mixes. Don’t overlook a rugged, versatile microphone; it’s paramount for capturing crisp, detailed audio.
Include a stable studio desk to keep your workspace organized and ergonomic. Studio monitors placed on isolation pads will help reduce vibrations and improve sound clarity. Pair these essentials with sturdy mic stands and shock mounts for versatility. Remember, a good set of cables ensures signal integrity, acting as the backbone of your setup.
Setting up Your Microphone Like a Pro
To elevate your recordings, start by positioning your microphone in an area with minimal reflections and background noise. Utilize a sturdy mic stand and shock mount to absorb vibrations. Maintain an optimal distance, typically 6 to 12 inches, and angle the microphone appropriately for your voice or instrument to capture the richest sound.
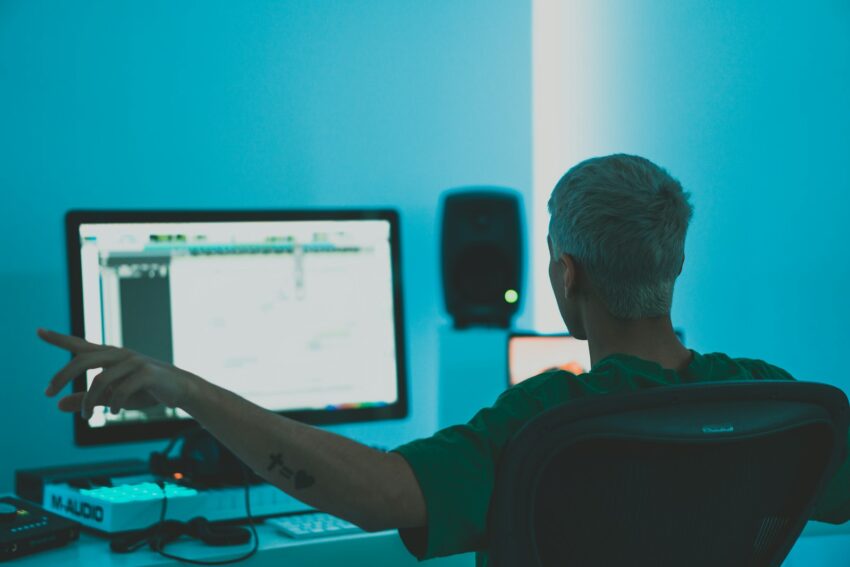
Software and Daws: the Heart of Recording
Imagine your computer as the control center of your home studio. The right Digital Audio Workstation (DAW) is crucial—it’s where all your magic happens. Whether you’re capturing raw vocals or fine-tuning complex mixes, a powerful DAW like Ableton Live, Pro Tools, or Logic Pro X transforms your ideas into professional-grade recordings.
Navigating these platforms can be a game-changer. They come equipped with an array of plugins and virtual instruments that mimic high-end studio gear. From editing audio tracks to adding final touches with effects and automation, mastering a DAW can elevate your home studio to new heights.
Tips for Effective Mixing and Mastering at Home
Mixing and mastering at home can be incredibly rewarding if done right. Start by investing time in learning your Digital Audio Workstation (DAW) of choice and understanding how to use its built-in tools effectively. Keep a reference track handy to compare your mix with professional standards. Remember that less is often more; avoid overprocessing your tracks. Proper levels, panning, and EQing are crucial to creating a balanced mix.
Mastering your mix involves fine-tuning the final stereo track. Use multi-band compressors effectively to balance frequencies and ensure your song sounds great on all playback systems. Pay attention to gain staging and avoid pushing levels into distortion. Always listen to your master on various speakers and headphones to ensure consistency. For distribution, explore must-know streaming platforms distribution tips for a successful music career.